This is the scripted walkthrough of our main direct-order guide. Use it when you want to see every field and button in context, rendered against a real Odoo screen. The callouts below highlight exactly the element you'll click or fill at each step.
Step 1: Click New Direct Order
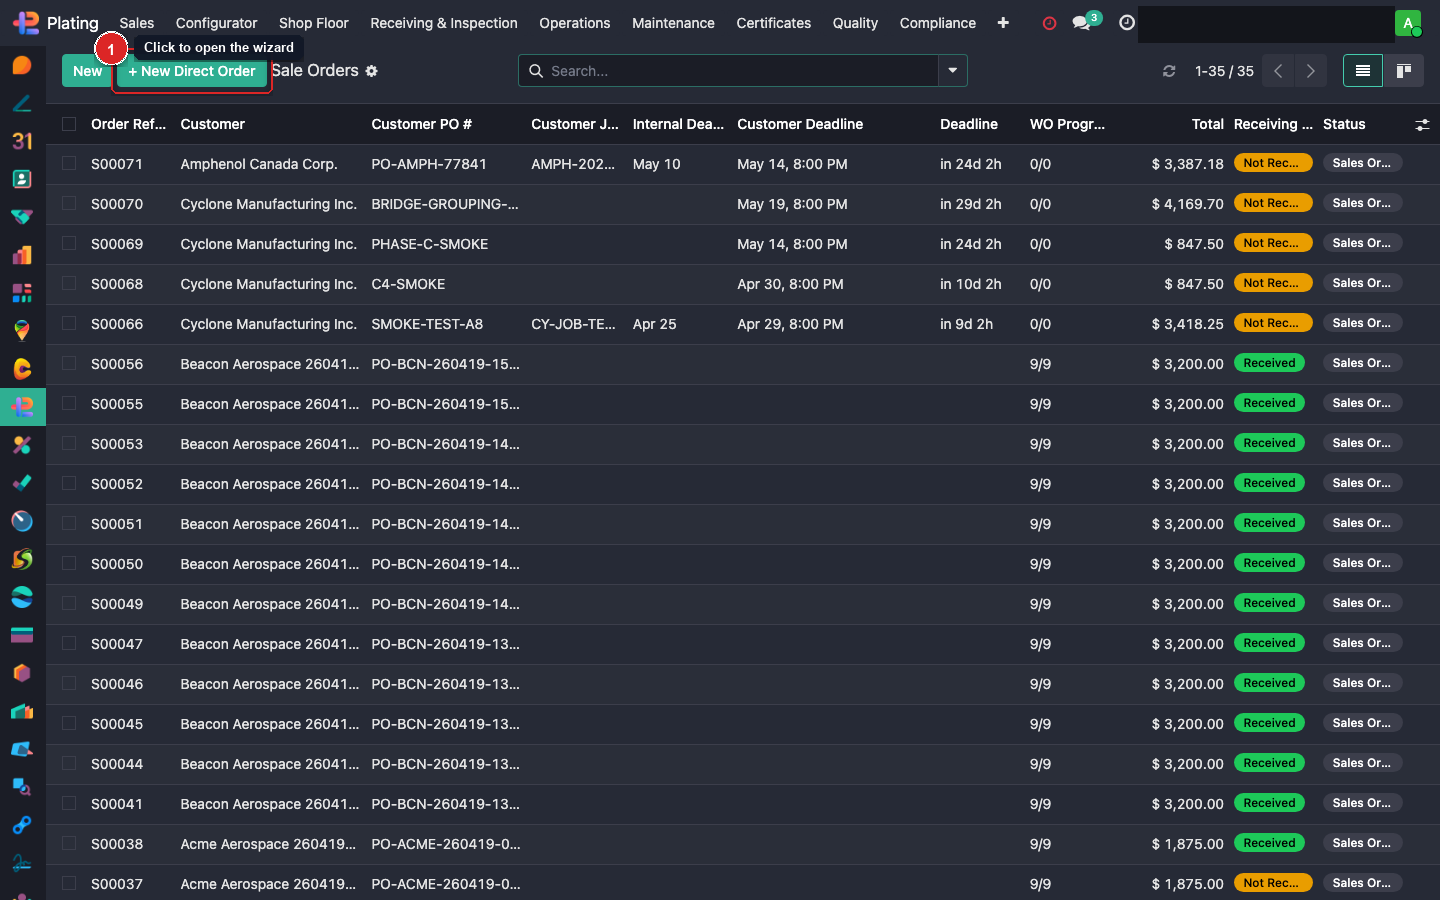
From the Sale Orders list, click the green + New Direct Order button in the toolbar. A dialog slides in with the full entry form.
Step 2: Pick the Customer

Click the Customer field and start typing. The dropdown narrows as you type. Picking a customer auto-fills both Invoice Address and Delivery Address from the customer record's defaults.
Step 3: Enter Customer Job Number

The Customer Job # is the reference number the customer uses internally — not the same as our SO number or their PO. Shown on work orders and the acknowledgement PDF so cross-referencing in email is painless.
Step 4: Enter the Customer PO Number
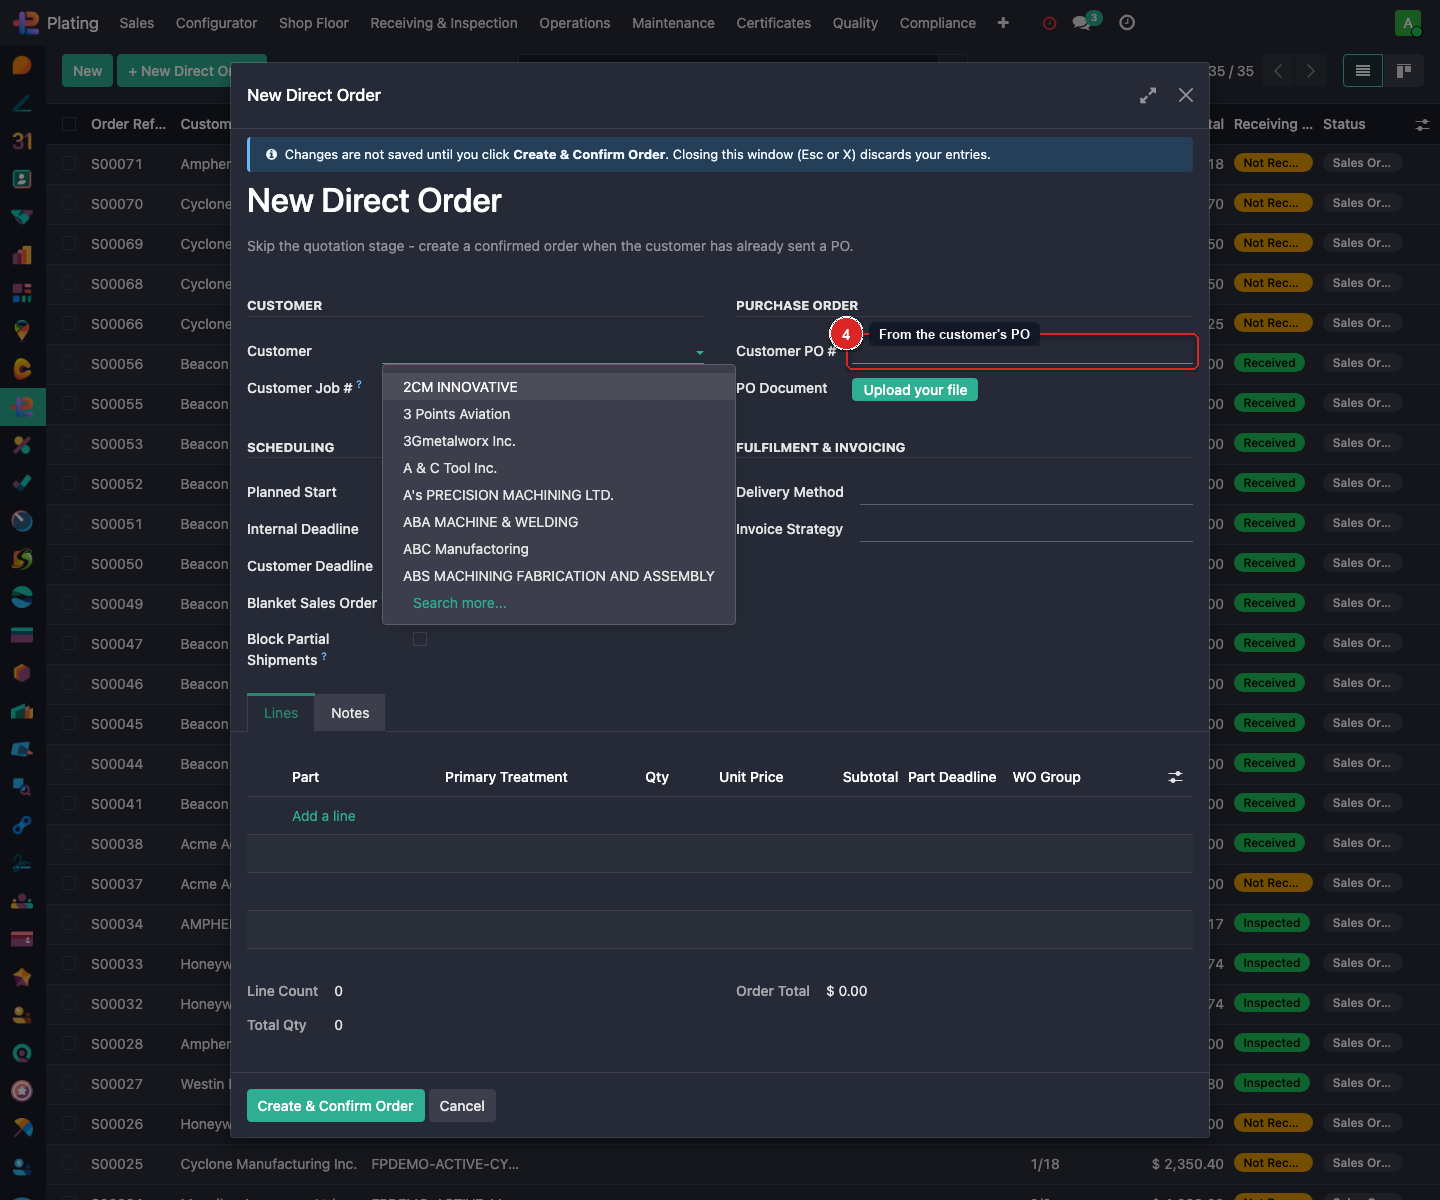
Paste the PO # from the customer's purchase order document. Required — Create & Confirm Order stays greyed out until this is filled and the PO Document is uploaded.
Step 5: Set the Customer Deadline

The Customer Deadline is the ship-by date you've promised. It drives the acknowledgement PDF's promised date and feeds into MO planning. Type the date or pick from the calendar.
Step 6: Tick Block Partial Shipments
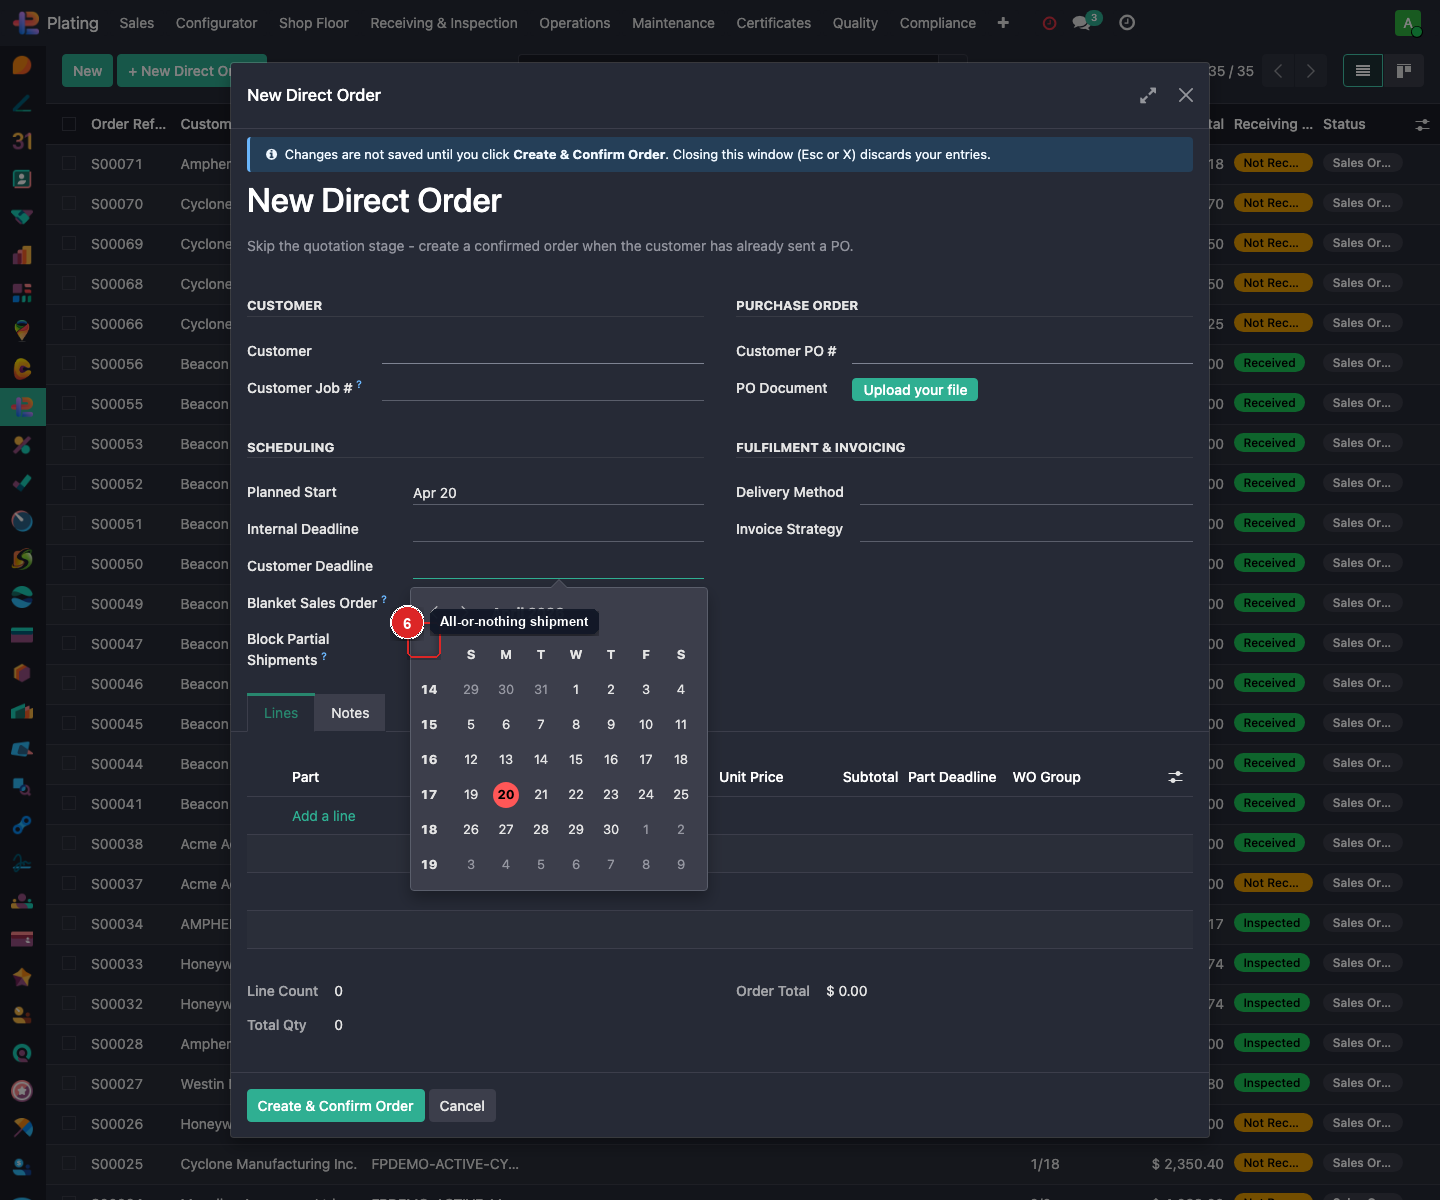
Tick this when the customer requires all-or-nothing shipment — common for aerospace. Blocks the Deliveries module from creating partial pickings.
What can go wrong
"Create & Confirm Order" stays greyed out
Customer PO # or PO Document hasn't been filled. Scroll up to the Purchase Order panel and complete both.
Customer field shows no matches
Partner isn't flagged as a customer yet. Plating → Sales → Customers → New to add them, then come back.
I pressed Escape and lost my work
Correct behaviour — the warning banner at the top of the dialog explicitly says this. Finish in one sitting next time.